Use of TabLayout
1. start
1.1 Add a reference to TabLayout
1.2 Adding TabLayout layout to xml
 <android.support.design.widget.TabLayout
        android:layout_width="match_parent"
        android:layout_height="50dp"
        app:tabBackground="@android:color/white"
        app:tabIndicatorColor="@color/colorAccent"
        app:tabIndicatorHeight="1dp"
        app:tabSelectedTextColor="@color/colorPrimaryDark"
        app:tabTextColor="@android:color/black"
        >

        <android.support.design.widget.TabItem
            android:layout_width="wrap_content"
            android:layout_height="wrap_content"
            android:text="tab1"
            />

        <android.support.design.widget.TabItem
            android:layout_width="wrap_content"
            android:layout_height="wrap_content"
            android:text="tab2"
            />

        <android.support.design.widget.TabItem
            android:layout_width="wrap_content"
            android:layout_height="wrap_content"
            android:text="tab3"
            />

    </android.support.design.widget.TabLayout>
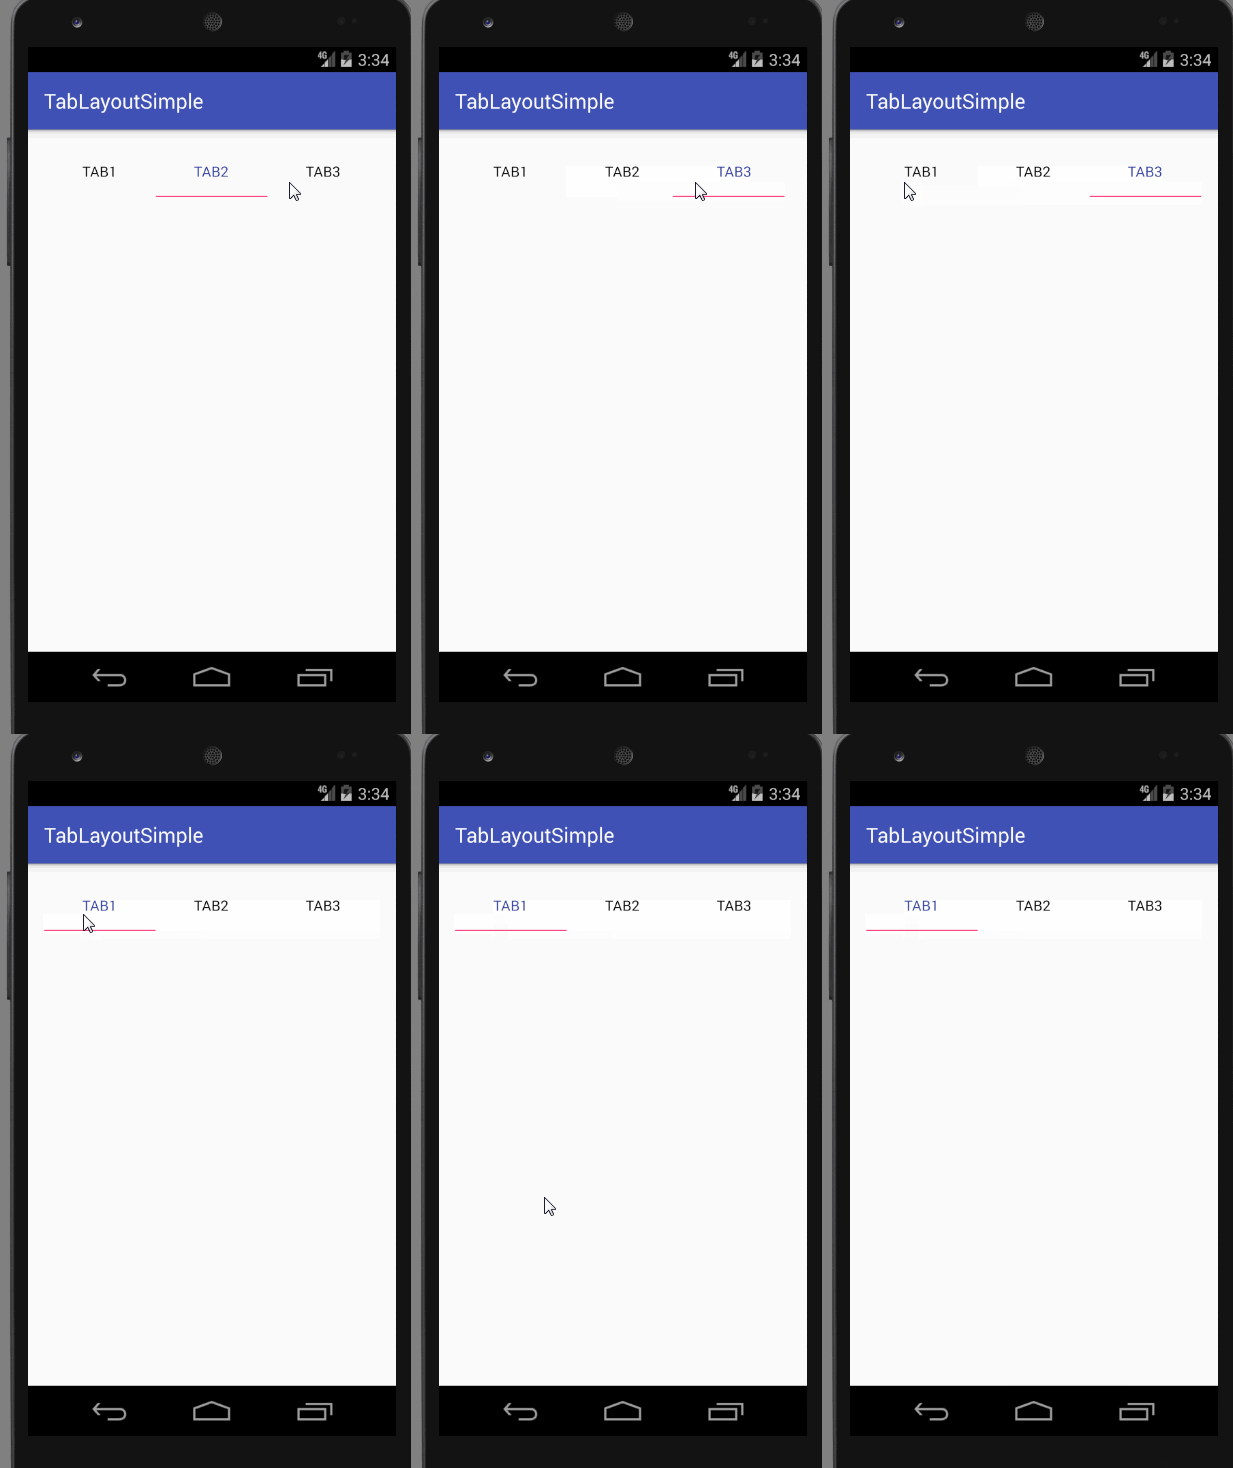
You can see that it is easy to switch the top Tab tab, the selected color and the default color, the bottom horizontal marking, etc. Now let's look at some attributes.
The background color of the app:tabBackground//tab option
App: tabIndicator Color // Underline color
App: tabIndicator Height // Underline Height
App: tabSelected TextColor // Text color when selected
app:tabTextColor // Text color by default
App: tabMode
But sometimes we need to add TabItem dynamically, so we have to take our time.
The code is as follows
 @Override
    protected void onCreate(Bundle savedInstanceState) {
        super.onCreate(savedInstanceState);
        setContentView(R.layout.activity_main);
        ButterKnife.inject(this);

        mTabLayout.addTab(mTabLayout.newTab().setText("tab01"));
        mTabLayout.addTab(mTabLayout.newTab().setText("tab02"));
        mTabLayout.addTab(mTabLayout.newTab().setText("tab03"));
        mTabLayout.addTab(mTabLayout.newTab().setText("tab04"));


        mTabLayout.addOnTabSelectedListener(new TabLayout.OnTabSelectedListener() {
            @Override
            public void onTabSelected(TabLayout.Tab tab) { //Click the first tab option to call back
                Toast.makeText(MainActivity.this, tab.getText(), Toast.LENGTH_SHORT).show();
            }

            @Override
            public void onTabUnselected(TabLayout.Tab tab) {  //Last tab callback
                Log.i("MainActivity", "onTabUnselected: " + tab.getText());
            }

            @Override
            public void onTabReselected(TabLayout.Tab tab) { // Click on the same tab's callback again
                Log.i("MainActivity", "onTabReselected: " + tab.getText());

            }
        });
    }
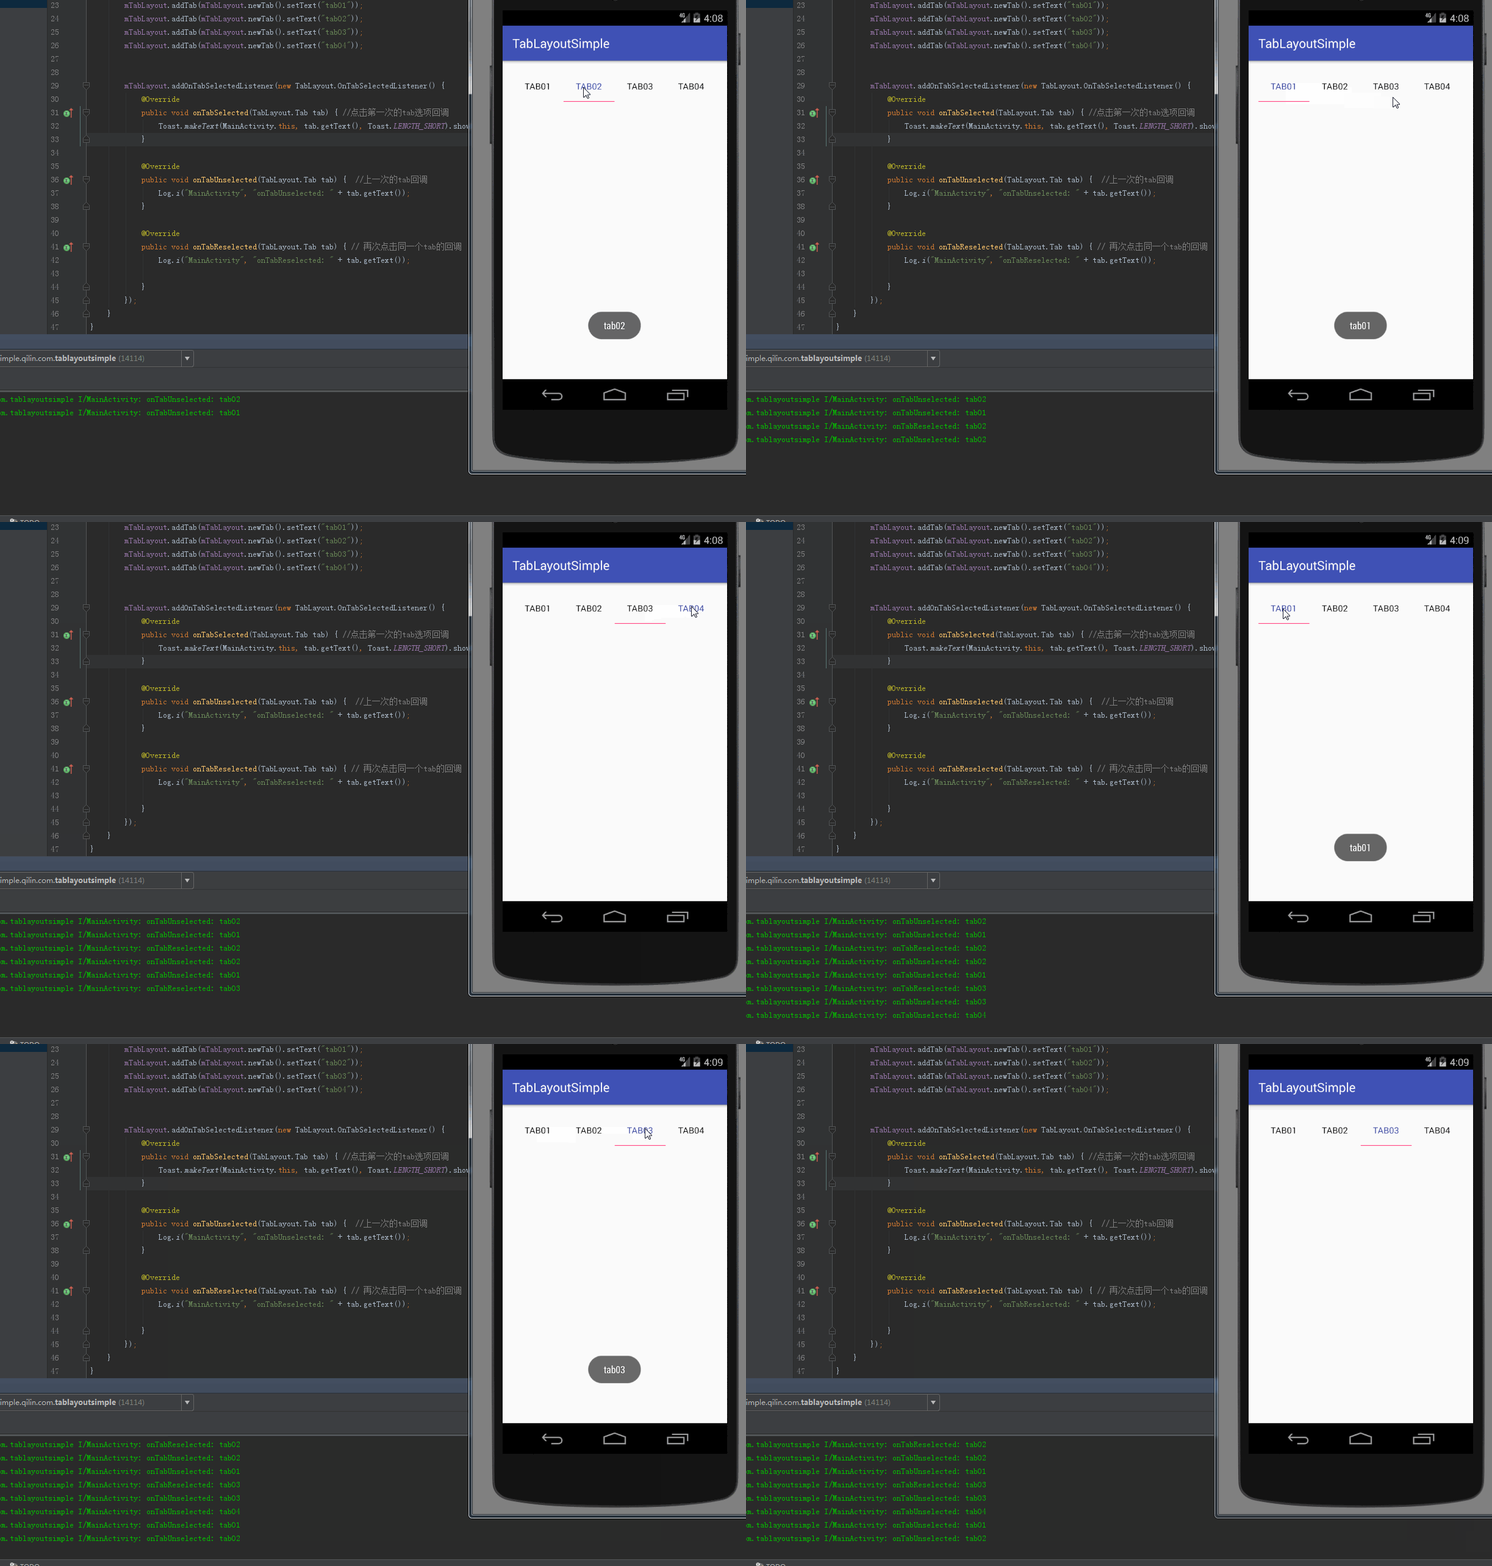
You can see here that we have added several item s by code and click events when clicking tab. We can do some indescribable things by clicking tab. Picture is the best explanation.

As you can see in the figure above, clicking the tab option once calls back two different methods. You can do some shy things in it.
Let's finish here, step by step.
The next article will talk about the combined use of tabLayout+Viewpager+Fragment, as well as some of the problems encountered.