In the previous article, I introduced how to build a new project with ndk. What if I add jni to the old project?
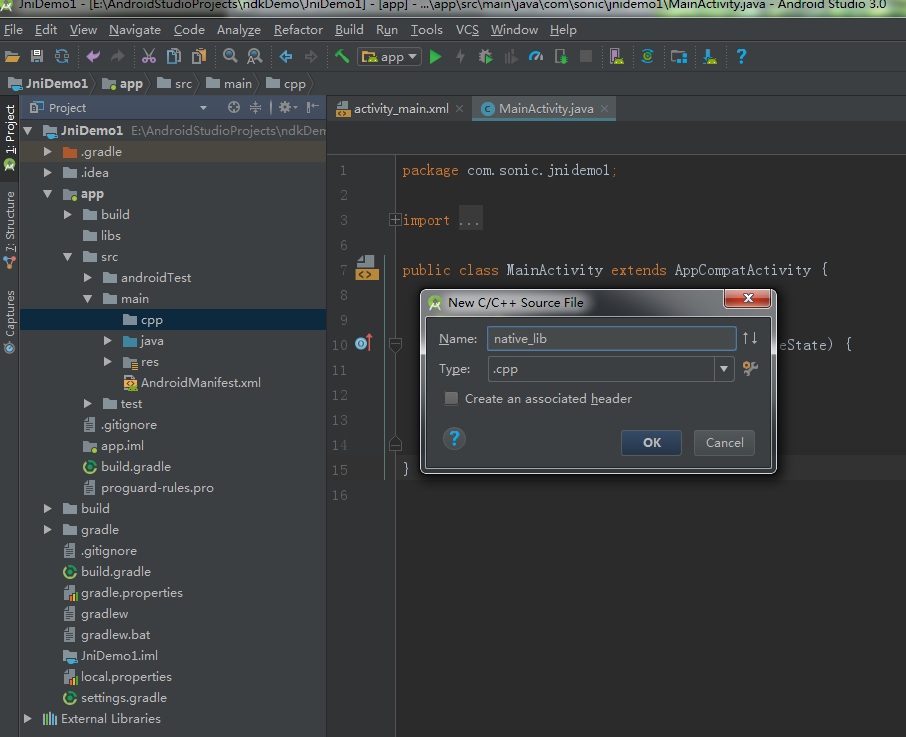
1. Create a new CPP folder under the app/main folder and a new. cpp file in the CPP folder:

2. Create a new tool class:
public class JniUtil {
    static {
        System.loadLibrary("jni_lib");
    }

    public native String getStringFromJni();
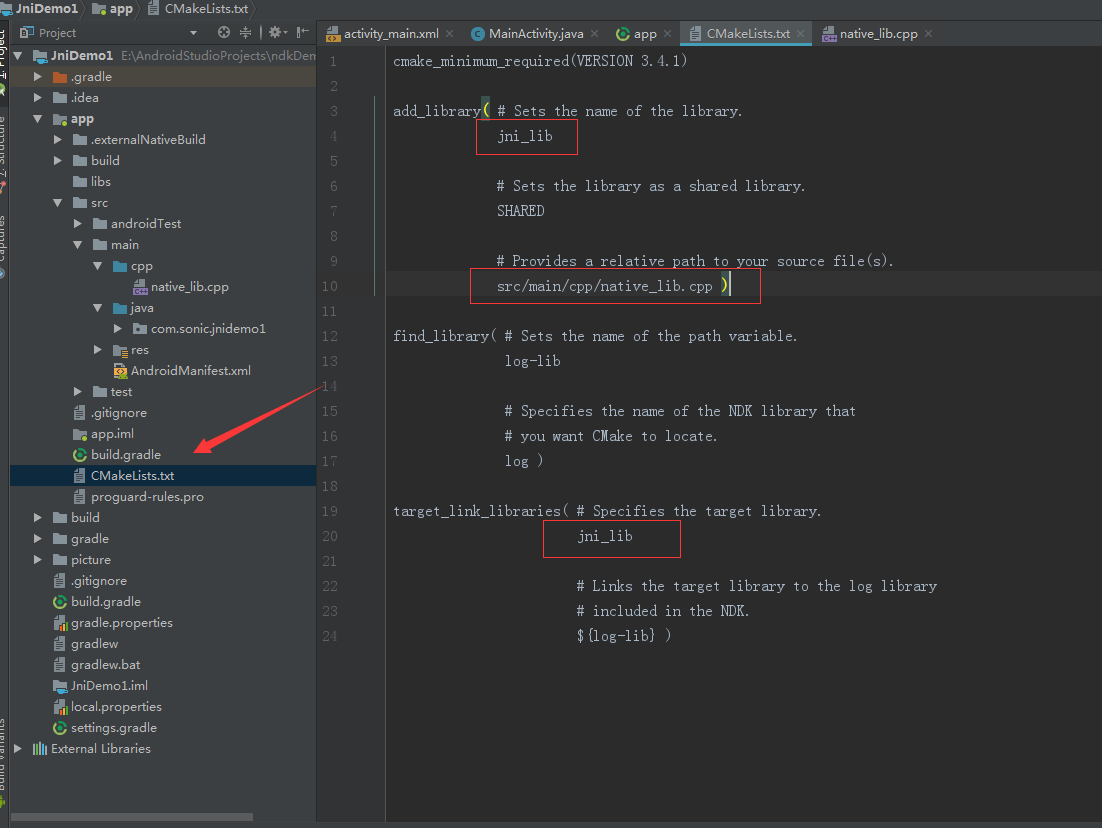
}cmake_minimum_required(VERSION 3.4.1)
add_library( # Sets the name of the library.
jni_lib
# Sets the library as a shared library.
SHARED
# Provides a relative path to your source file(s).
src/main/cpp/native_lib.cpp )
find_library( # Sets the name of the path variable.
log-lib
# Specifies the name of the NDK library that
# you want CMake to locate.
log )
target_link_libraries( # Specifies the target library.
jni_lib
# Links the target library to the log library
# included in the NDK.
${log-lib} )
(Note: CMakeLists.txt file names are case-sensitive; jni_lib in the red box is the System.loadLibrary("jni_lib") in the second step of the new tool class, and the path of the new cpp file.)
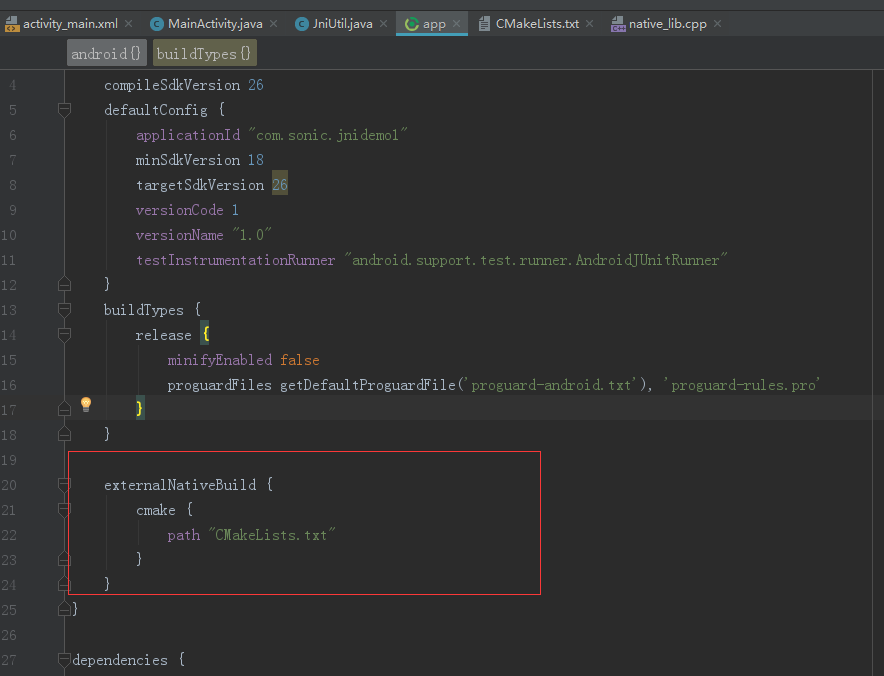
4. Add configuration in build.gradle:
externalNativeBuild {
        cmake {
            path "CMakeLists.txt"
        }
    }
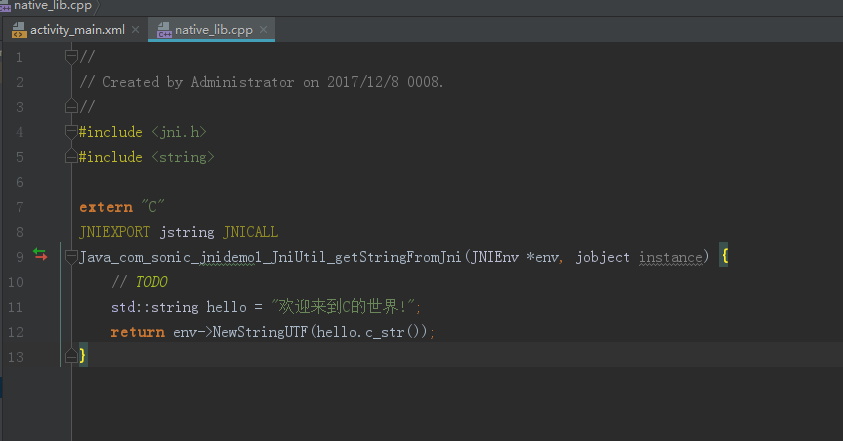
5. Finally, write the. cpp file. In fact, after the last step, you can press the Alt+Enter key under the native method to create the jni method. The code is as follows:
#include <jni.h>
#include <string>

extern "C"
JNIEXPORT jstring JNICALL
Java_com_sonic_jnidemo1_JniUtil_getStringFromJni(JNIEnv *env, jobject instance) {
    // TODO
    std::string hello = "Welcome to C The world!";
    return env->NewStringUTF(hello.c_str());
}
Finally, it's running. The screenshot above:
