About Anaconda installation cv2
Before learning opencv, we must first install the library functions of OpenCV.
Let's demonstrate the mistake first
- First, we enter the following command in the Anaconda Prompt window:
conda install opencv-python
Then an error will appear:
PackagesNotFoundError: The following packages are not available from current channels:
- python-opencv
Current channels:
- https://repo.anaconda.com/pkgs/main/win-64
- https://repo.anaconda.com/pkgs/main/noarch
- https://repo.anaconda.com/pkgs/r/win-64
- https://repo.anaconda.com/pkgs/r/noarch
- https://repo.anaconda.com/pkgs/msys2/win-64
- https://repo.anaconda.com/pkgs/msys2/noarch
To search for alternate channels that may provide the conda package you're
looking for, navigate to https://anaconda.org and use the search bar at the top of the page.
This is probably because the opencv library does not support such installation. We need to find the corresponding version for installation
- We enter the following command in the Anaconda Prompt window:
conda install --channel https://conda.anaconda.org/menpo opencv
Error during installation PermissionError
Probably because some files are locked by Anaconda (or other processes), opencv may need to read and write this file
The correct method is effective
Close all related processes of anaconda and spyder.
First enter the following command in the Anaconda Prompt window:
conda update --all
Then there will be some packages to be updated and downloaded. Anyway, all yes is OK
Then enter the following command in Anaconda Prompt window:
conda install --channel https://conda.anaconda.org/menpo opencv
You will also be asked to enter [y/n] later:
Just y do it. After the command is executed, anaconda will install the cv2 library
Basic usage of Opencv
Anaconda's code reminder is too slow. I still use pycharm. The above is only for children's shoes using anaconda.
Image reading, display and saving
Image reading and display
import cv2

img = cv2.imread("D:/conda programs/snack2.png") # Read image file (full file name)
# cv2.namedWindow("she") # Name the window (in fact, you don't need to name the window when displaying the image below)
cv2.imshow("she", img) # Displays the image. The first parameter is the window name, and the second parameter is the image just read in
cv2.waitKey(0) # The parameter is the window waiting time. Without this line of code, it will flash directly.
# When the parameter value is less than 0, click to wait. When the parameter is greater than 0, it is the waiting time. If the parameter is equal to 0 or there is no parameter, wait indefinitely.
cv2.destroyAllWindows() # Destroy all windows and no longer use memory.
Note: the separator between python read and save file names is different from the default "\" in Windows. The separator between python read and save images is "/" or "\"
You can display the picture! ( 🐍 sister 🐍 Sister)

Image saving
cv2.imwrite("C:/Users/Zhang-Lei/Desktop/snack.png", img) # Save the image. The parameters are the full file name to be saved and the read in image
In this way, it is successfully saved on the desktop
Pixel processing
Read pixel
- Grayscale image img[x, y]: single channel image
I convert the above image into a grayscale image, save it as "C: / users / Zhang Lei / desktop / snap_gray. PNG", and then read the pixel value of a point
img = cv2.imread("C:/Users/Zhang-Lei/Desktop/snack_gray.png")
pixel = img[100, 100]
print(pixel)
result:

Why is the result three numbers?
opencv will change the image format when reading the image.
So how to read the image without changing the image format?
Add the parameter cv2.imread when reading the image_ UNCHANGED
img = cv2.imread("C:/Users/Zhang-Lei/Desktop/snack_gray.png", cv2.IMREAD_UNCHANGED)
pixel = img[100, 100]
print(pixel)
result:
This is the real single channel picture!
- BGR image img[x, y, z]
img = cv2.imread("C:/Users/Zhang-Lei/Desktop/snack.png")
blue_pixel = img[100, 100, 0]  # The third parameter represents the number of channels, and 0 represents blue channel
green_pixel = img[100, 100, 1]  # 1 indicates green channel
red_pixel = img[100, 100, 2]  # 2 indicates red channel
print(blue_pixel, '\n', green_pixel, '\n', red_pixel)```
result:

That is, the pixel values of the three channels are 139160188 respectively
Modify pixel values
- Sub channel processing
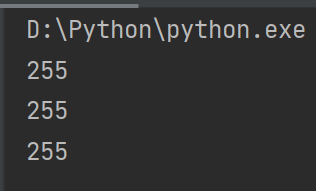
img[100, 100, 0] = 255
img[100, 100, 1] = 255
img[100, 100, 2] = 255
print(img[100, 100])
Set the pixel values of the three channels to 255 respectively
result:
- Three channel simultaneous processing
img[100, 100] = [0, 0, 0]
print(img[100, 100])
At the same time, set the pixel values of the three channels to 0
result:

3. Area pixel assignment
img[100:150, 100:150] = [255, 255, 255]
cv2.imshow("she", img)
cv2.waitKey()
cv2.destroyAllWindows()
Display results:
All channel pixel values in the region are 255, so the region is white.

Pixel processing using numpy method
Read pixel
blue = img.item(100, 100, 0)
green = img.item(100, 100, 1)
red = img.item(100, 100, 2)
print(blue, '\n', green, '\n', red)
result:

The pixel values of the three channels can also be obtained
Note that you can't directly use item to view the pixel values of the three channels in the color map, otherwise an error will be reported as follows:
incorrect number of indices for array
Modify pixel values
img.itemset((100, 100, 0), 255)
img.itemset((100, 100, 1), 255)
img.itemset((100, 100, 2), 255)
print(img.item(100, 100, 0))
print(img.item(100, 100, 1))
print(img.item(100, 100, 2))
result:
You can see that the pixel value has changed
Access image properties
Shape of image
img = cv2.imread("C:/Users/Zhang-Lei/Desktop/snack.png")
print(img.shape)
result:

960 rows * 640 columns, three channel color map
Total number of pixels of the image
print(img.size)
result:
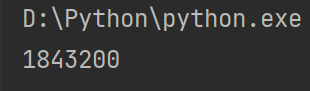
960 * 640 = 1843200
Data type of image
print(img.dtype)
result:

About data types, integer and floating-point types, there are subdivisions. I won't say more here.
ROI (region of interest).
extract
cv2.imshow("face", img[100:400, 200:400])
cv2.waitKey()
cv2.destroyAllWindows()
result:
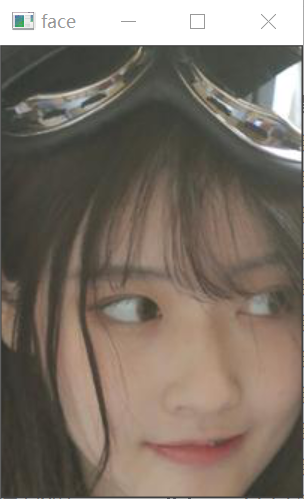
You can see the extracted face image
copy
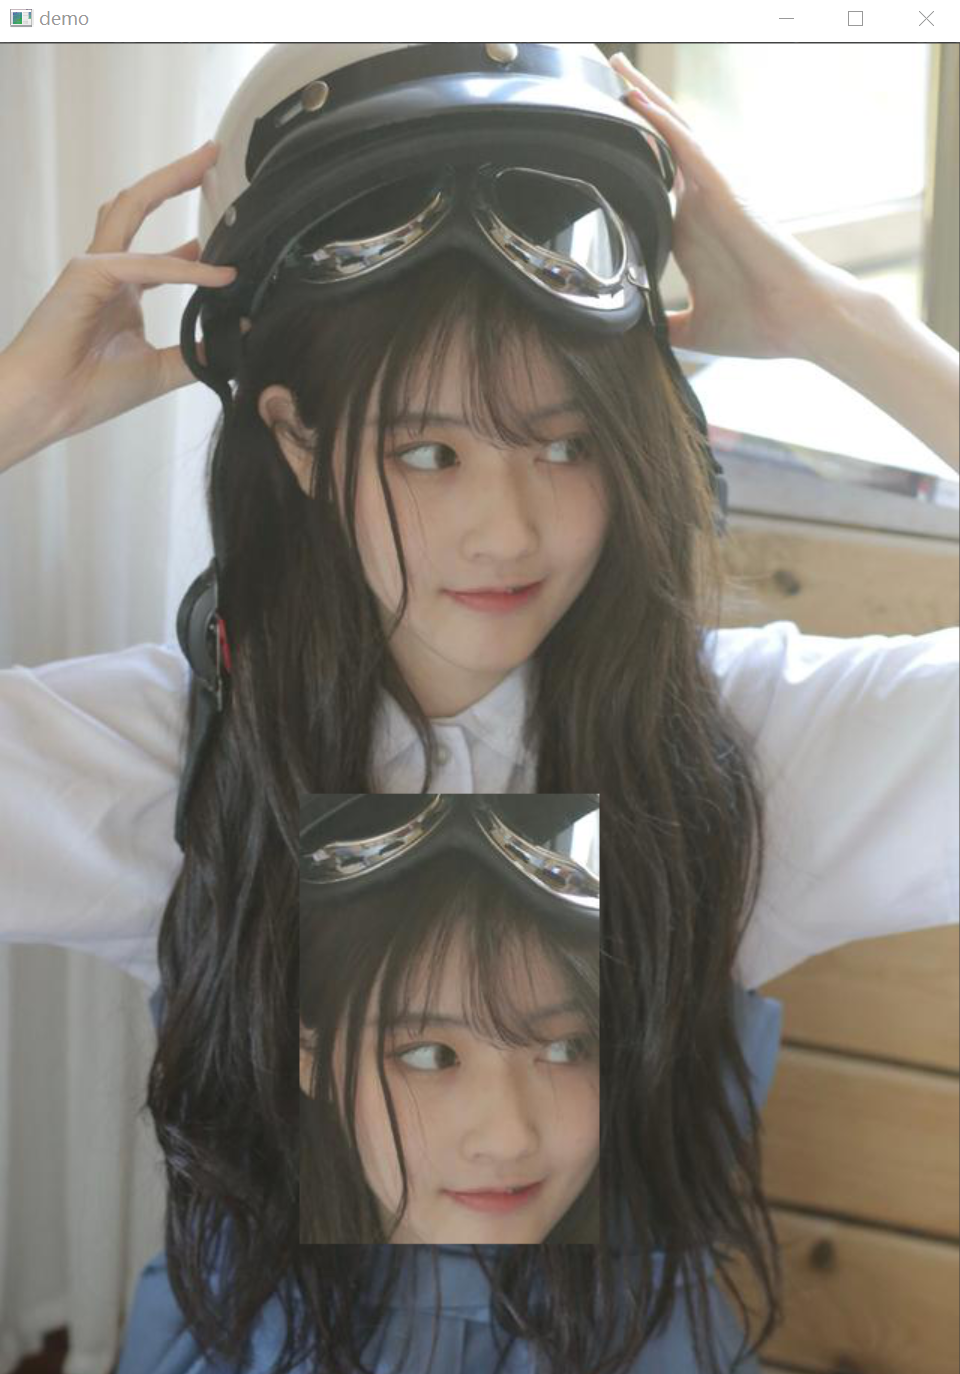
Let's copy the face image to the bottom of the image
img[500:800, 200:400] = img[100:400, 200:400]
cv2.imshow("demo", img)
cv2.waitKey()
cv2.destroyAllWindows()
result:
Split and merge channels
split channel
b, g, r = cv2.split(img)
cv2.imshow("blue", b)
cv2.imshow("green", g)
cv2.imshow("red", r)
cv2.waitKey()
cv2.destroyAllWindows()
result:

It can be seen that the images of B, G and R channels have been extracted
Note: CV. Spirt () is an expensive operation (in terms of time). So do this only when you need it, otherwise use the Numpy index.
Namely:
b = img[:, :, 0]
g = img[:, :, 1]
r = img[:, :, 2]
merge channel
new_img = cv2.merge((b, g, r))
cv2.imshow("new", new_img)
cv2.waitKey()
cv2.destroyAllWindows()
result:
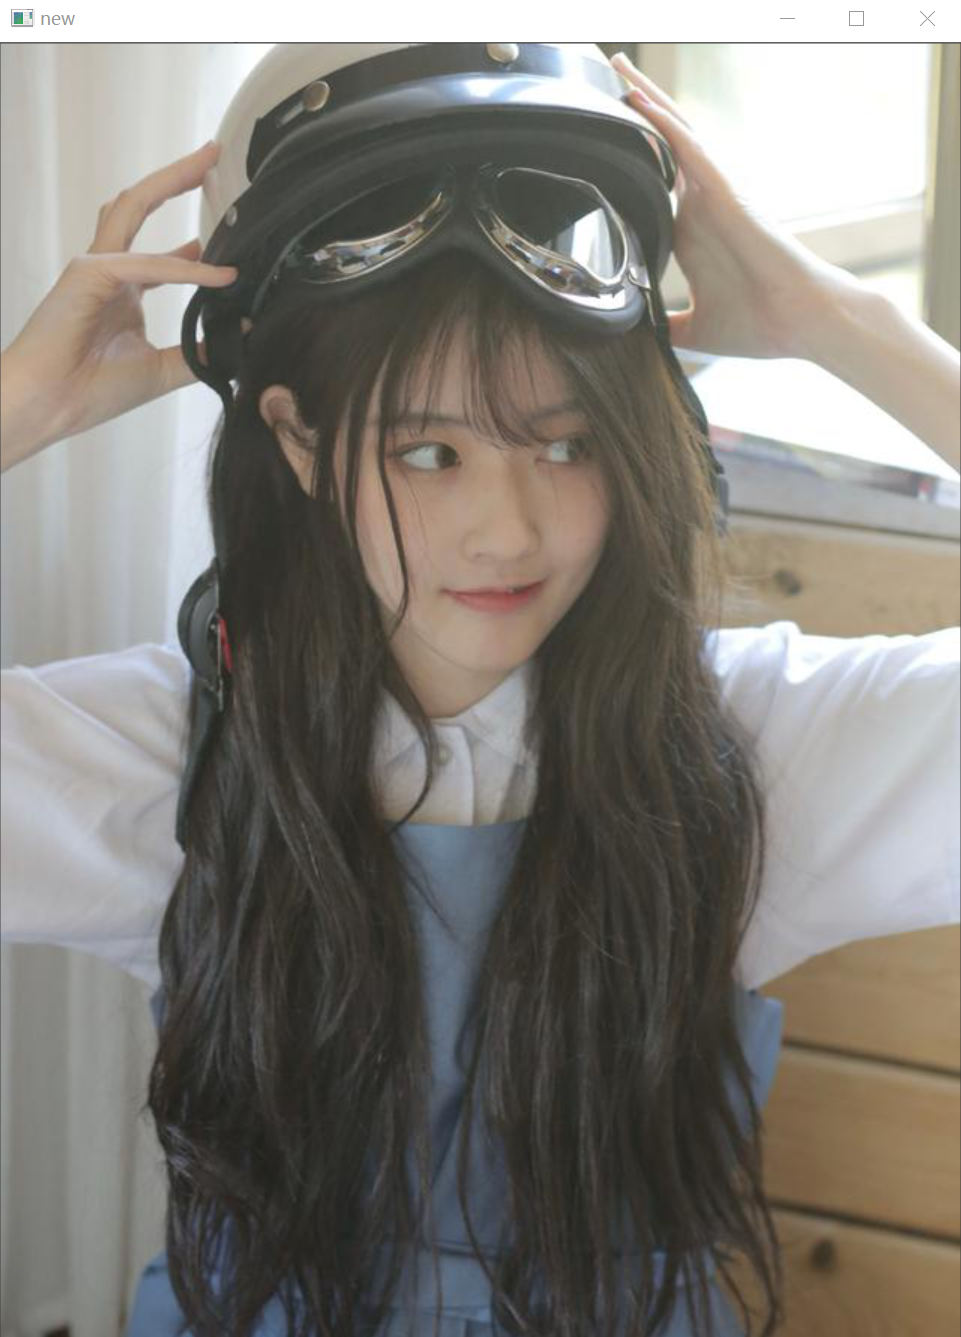
As you can see, the pictures of the three channels are merged into a new picture.
Make image boundary (fill) (CV2. Copymakeorder())
Apply to create a border around the image, such as a photo frame effect.
Detailed explanation of function parameters
cv2.copyMakeBorder(src, top, bottom, left, right, borderType, [value])
- src: input image.
- top, bottom, left, right: the value of boundary widening in the up, down, left, right directions.
- borderType: Specifies the border type.
- Value: when the type of borderType is cv2.border_ When constant, this value is the border color to be set. Note: when displaying images using matplotlib, the order of the three channels here is RGB, not BGR
The types of borderType can be as follows:
- cv2.BORDER_CONSTANT: adds a constant color border. This value should be given as the next parameter value.
- cv2.BORDER_REFLECT: the border will be a mirror reflection of the border element, as shown below: fedca|abcdefgh|hgfedcb
- cv2.BORDER_REFLECT_101 or cv.BORDER_DEFAULT: the same as above, but with slight changes, as follows: gfedcb | abcdefgh | gfedcba
- cv2.BORDER_REPLICATE: the last element is copied as follows: AAAA | abcdefgh | hhhhh
- cv2.BORDER_WRAP: it's hard to explain. It looks like this: cdefgh | abcdefgh | abcdefg
Usage example
import cv2
import matplotlib.pyplot as plt

img = cv2.imread("C:/Users/Zhang-Lei/Desktop/snack_gray.png")
Blue = [0, 0, 255]
replicate = cv2.copyMakeBorder(img, 100, 100, 100, 100, cv2.BORDER_REPLICATE)
reflect = cv2.copyMakeBorder(img, 100, 100, 100, 100, cv2.BORDER_REFLECT)
reflect101 = cv2.copyMakeBorder(img, 100, 100, 100, 100, cv2.BORDER_DEFAULT)
wrap = cv2.copyMakeBorder(img, 100, 100, 100, 100, cv2.BORDER_WRAP)
constant = cv2.copyMakeBorder(img, 100, 100, 100, 100, cv2.BORDER_CONSTANT, value=Blue)

plt.figure(figsize=(12, 12))

plt.subplot(2, 3, 1)
plt.imshow(img)
plt.title("Original")

plt.subplot(2, 3, 2)
plt.imshow(replicate)
plt.title("Replicate")

plt.subplot(2, 3, 3)
plt.imshow(reflect)
plt.title("Reflect")

plt.subplot(2, 3, 4)
plt.imshow(reflect101)
plt.title("Reflect101")

plt.subplot(2, 3, 5)
plt.imshow(wrap)
plt.title("Wrap")

plt.subplot(2, 3, 6)
plt.imshow(constant)
plt.title("Constant")

plt.show()
result:

It can be seen that except for the first initial image, the boundaries of the other five images have changed.
Arithmetic operation of image
Image addition (cv2.add())
Result image = image 1 + image 2
The two images are added through the OpenCV function, cv2.add() or simply through the numpy operation, res = img1 + img2. The two images should have the same depth and type, or the second image can be a pixel value, such as (255255255), a white value.
Image operation code example:
img = cv2.imread('C:/Users/Zhang-Lei/Desktop/snack_gray.png')
img_add1 = cv2.add(img, img)
img_add2 = img + img
cv2.imshow('original', img)
cv2.imshow('add1', img_add1)
cv2.imshow('add2', img_add2)
cv2.waitKey()
cv2.destroyAllWindows()
result:
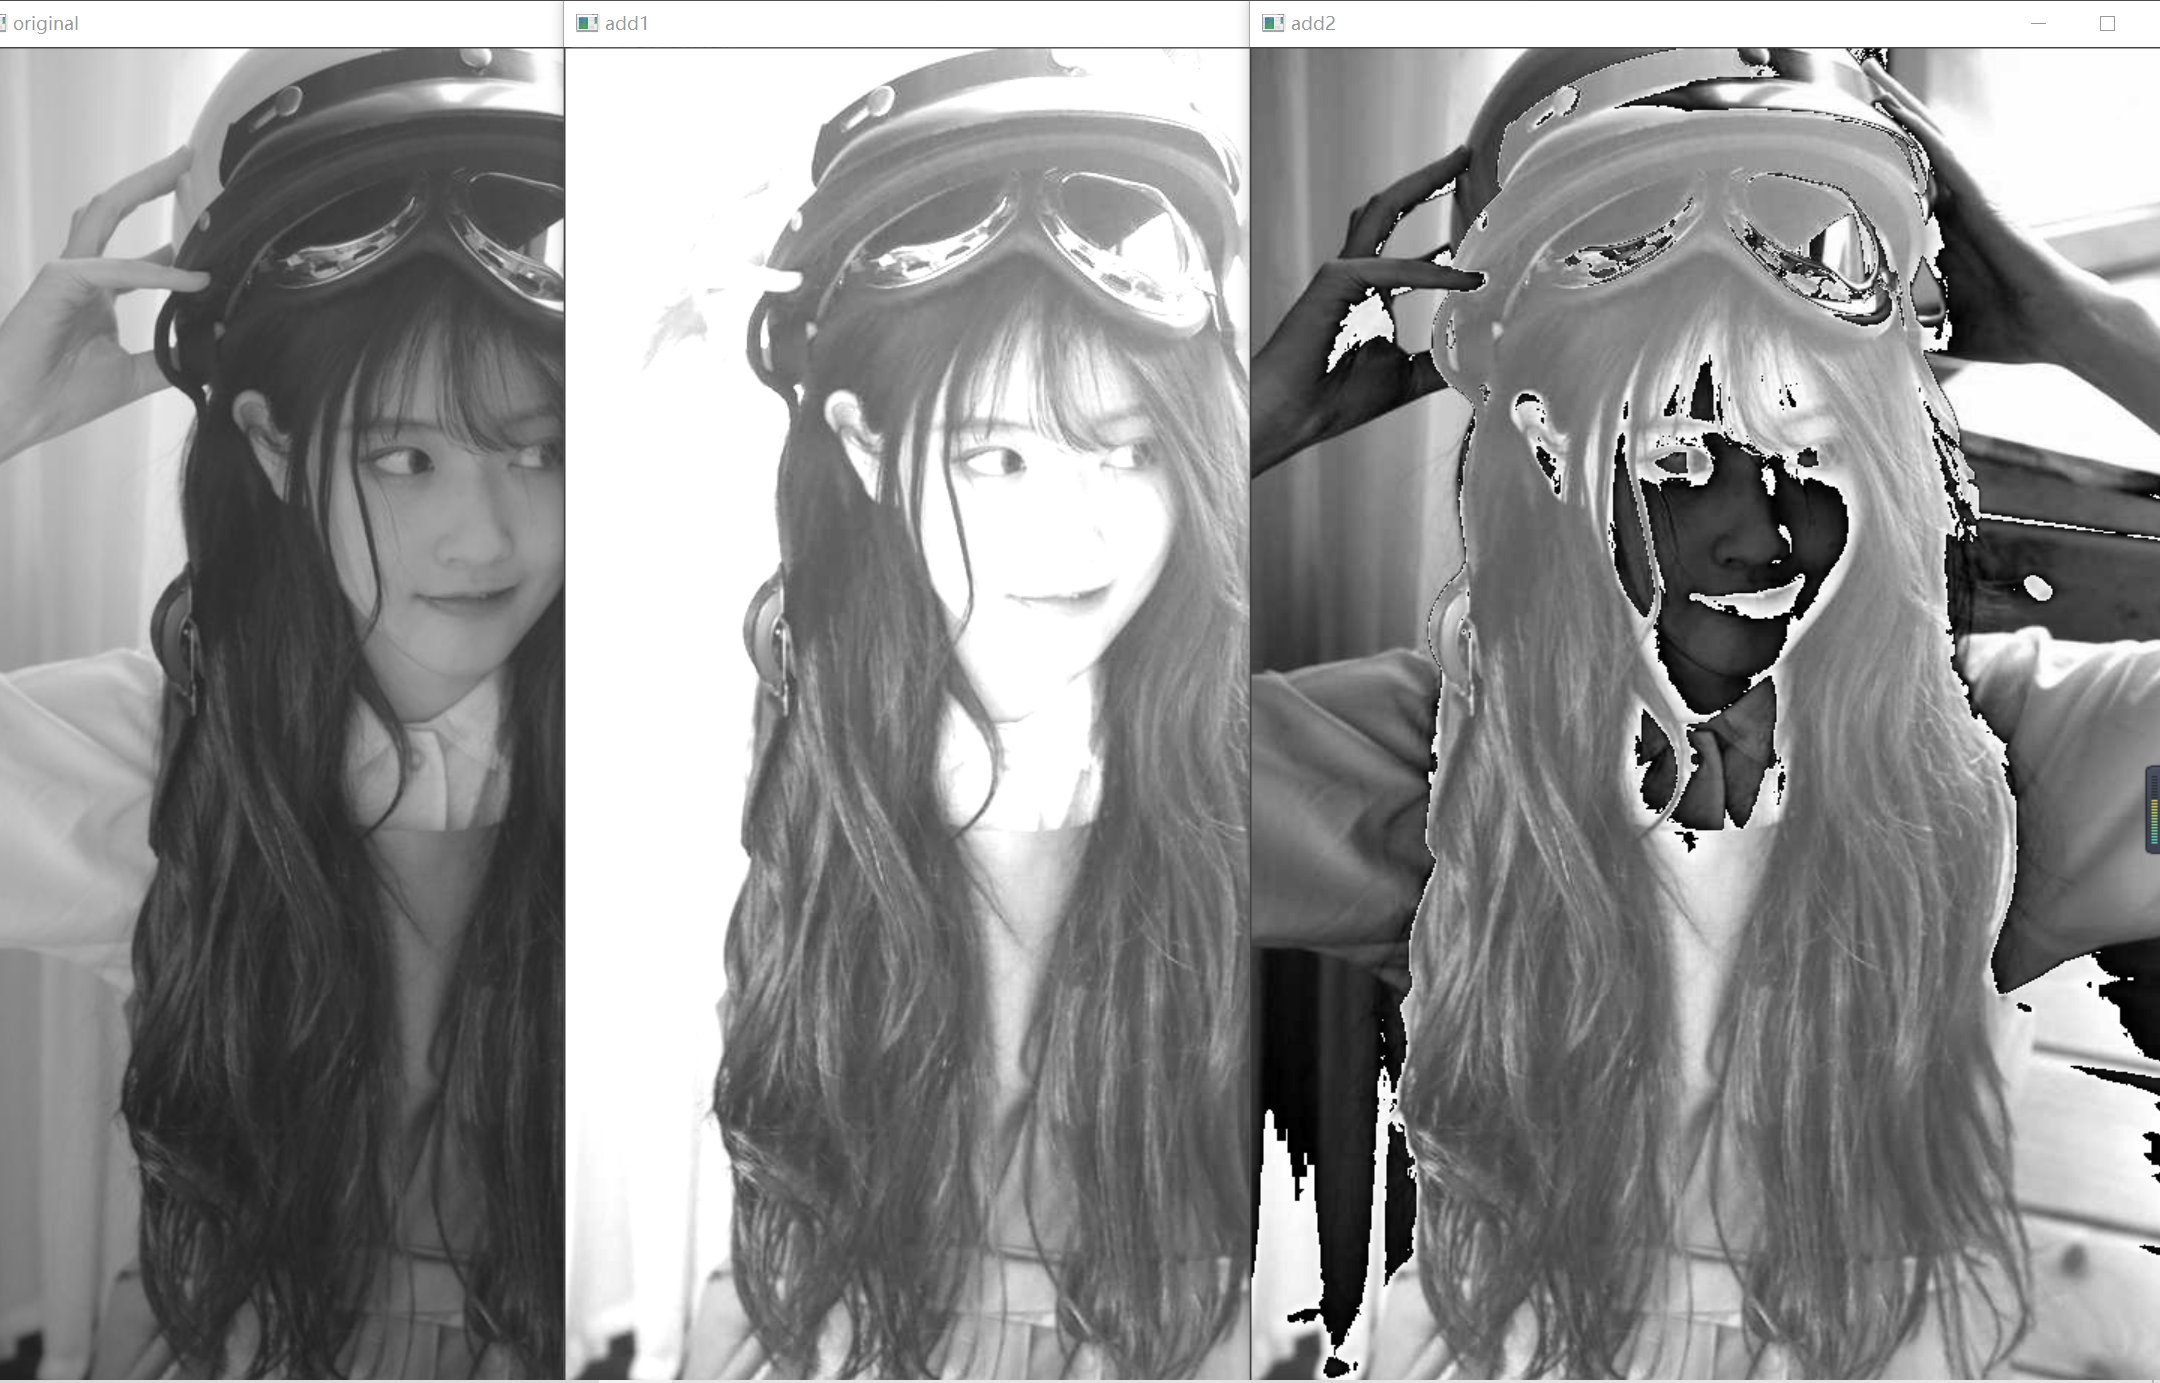
Note: there is a difference between OpenCV addition and Numpy addition. OpenCV addition is a saturation operation, while Numpy addition is a modular operation. It should be noted that the data overflowed by the two additions will be within the limited data range in some way.
Code example:
import cv2
import numpy as np

x = np.uint8([250])
y = np.uint8([10])
print(cv2.add(x, y))
print(x + y)
result:

cv2.add() operation: 250 + 10 = 260 > 255 = > 255
In direct addition operation: (250 + 10)% 256 = 4
Image blending (cv2.addWeighted())
Result image = image 1 * coefficient 1 + image 2 * coefficient 2 + brightness adjustment amount
cv.addWeighted(src1, alpha, src2, beta, gamma)
Note: the parameter gamma cannot be omitted
That is, add the images, but give different weights to the images, so as to give a sense of mixing or transparency.
Note: the size and type of the two images to be mixed here must be exactly the same, otherwise an error will be reported.
Errors are reported as follows:
error: (-209:Sizes of input arguments do not match) The operation is neither 'array op array' (where arrays have the same size)
Code example:
img1 = cv2.imread('C:/Users/Zhang-Lei/Desktop/5.jpg')
img2 = cv2.imread('C:/Users/Zhang-Lei/Desktop/6.jpg')
res = cv2.addWeighted(img1, 0.3, img2, 0.7, 0)
cv2.imshow('img1', img1)
cv2.imshow('img2', img2)
cv2.imshow('res', res)
cv2.waitKey()
cv2.destroyAllWindows()
result:

It can be seen that the two images are fused together in a certain proportion.
Bitwise operation
This includes bitwise AND, OR, NOT, AND XOR operations. They are very useful in extracting a part of an image, defining AND using non rectangular ROI.
If I want to add an opencv logo to an image, if I simply add two images, the color of the overlay will be changed. If you perform the aliasing operation mentioned above, you will get a transparent result, but I want to get an opaque logo. If the logo is a rectangular logo, you can use the ROI mentioned in the previous section. However, the logo of OpenCV is irregular, so use the following bitwise operation.
img1 = cv2.imread('C:/Users/Zhang-Lei/Desktop/snack.png')
img2 = cv2.imread('C:/Users/Zhang-Lei/Desktop/opencv.jpg')
rows, cols, channels = img2.shape
roi = img1[:rows, :cols]
img2gray = cv2.cvtColor(img2, cv2.COLOR_BGR2GRAY)
ret, mask = cv2.threshold(img2gray, 200, 255, cv2.THRESH_BINARY)  # Binarization to darken the logo area in ROI
cv2.imshow('mask', mask)
cv2.waitKey()
cv2.destroyAllWindows()
result:
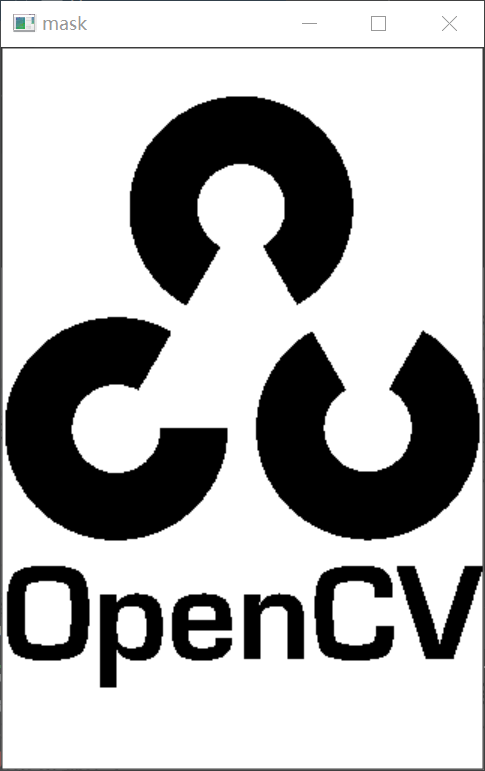
It can be seen that the picture has been binarized, with only black and white parts.
mask_inv = cv2.bitwise_not(mask)  # Non operation, black-and-white inversion
cv2.imshow('mask_inv', mask_inv)
cv2.waitKey()
cv2.destroyAllWindows()
result:
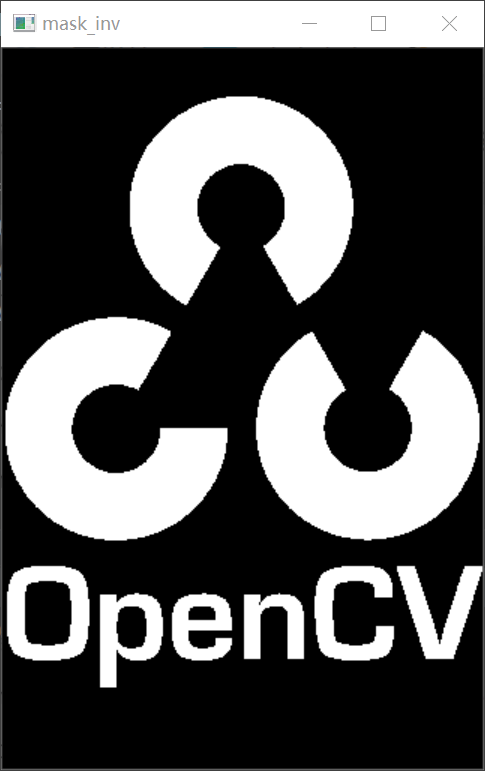
It can be seen that black and white are reversed compared with the above figure.
img1_bg = cv2.bitwise_and(roi, roi, mask=mask_inv)
img2_fg = cv2.bitwise_and(img2, img2, mask=mask_inv)
cv2.imshow('img1_bg', img1_bg) # Only get the logo area from the logo image.
cv2.imshow('img2_fg', img2_fg) # Place the logo in the ROI and modify the main image
cv2.waitKey()
cv2.destroyAllWindows()
result:

res = cv2.add(img1_bg, img2_fg)
img1[:rows, :cols] = res
cv2.imshow('res', res)
cv2.imshow('img1', img1)
cv2.waitKey()
cv2.destroyAllWindows()
result:
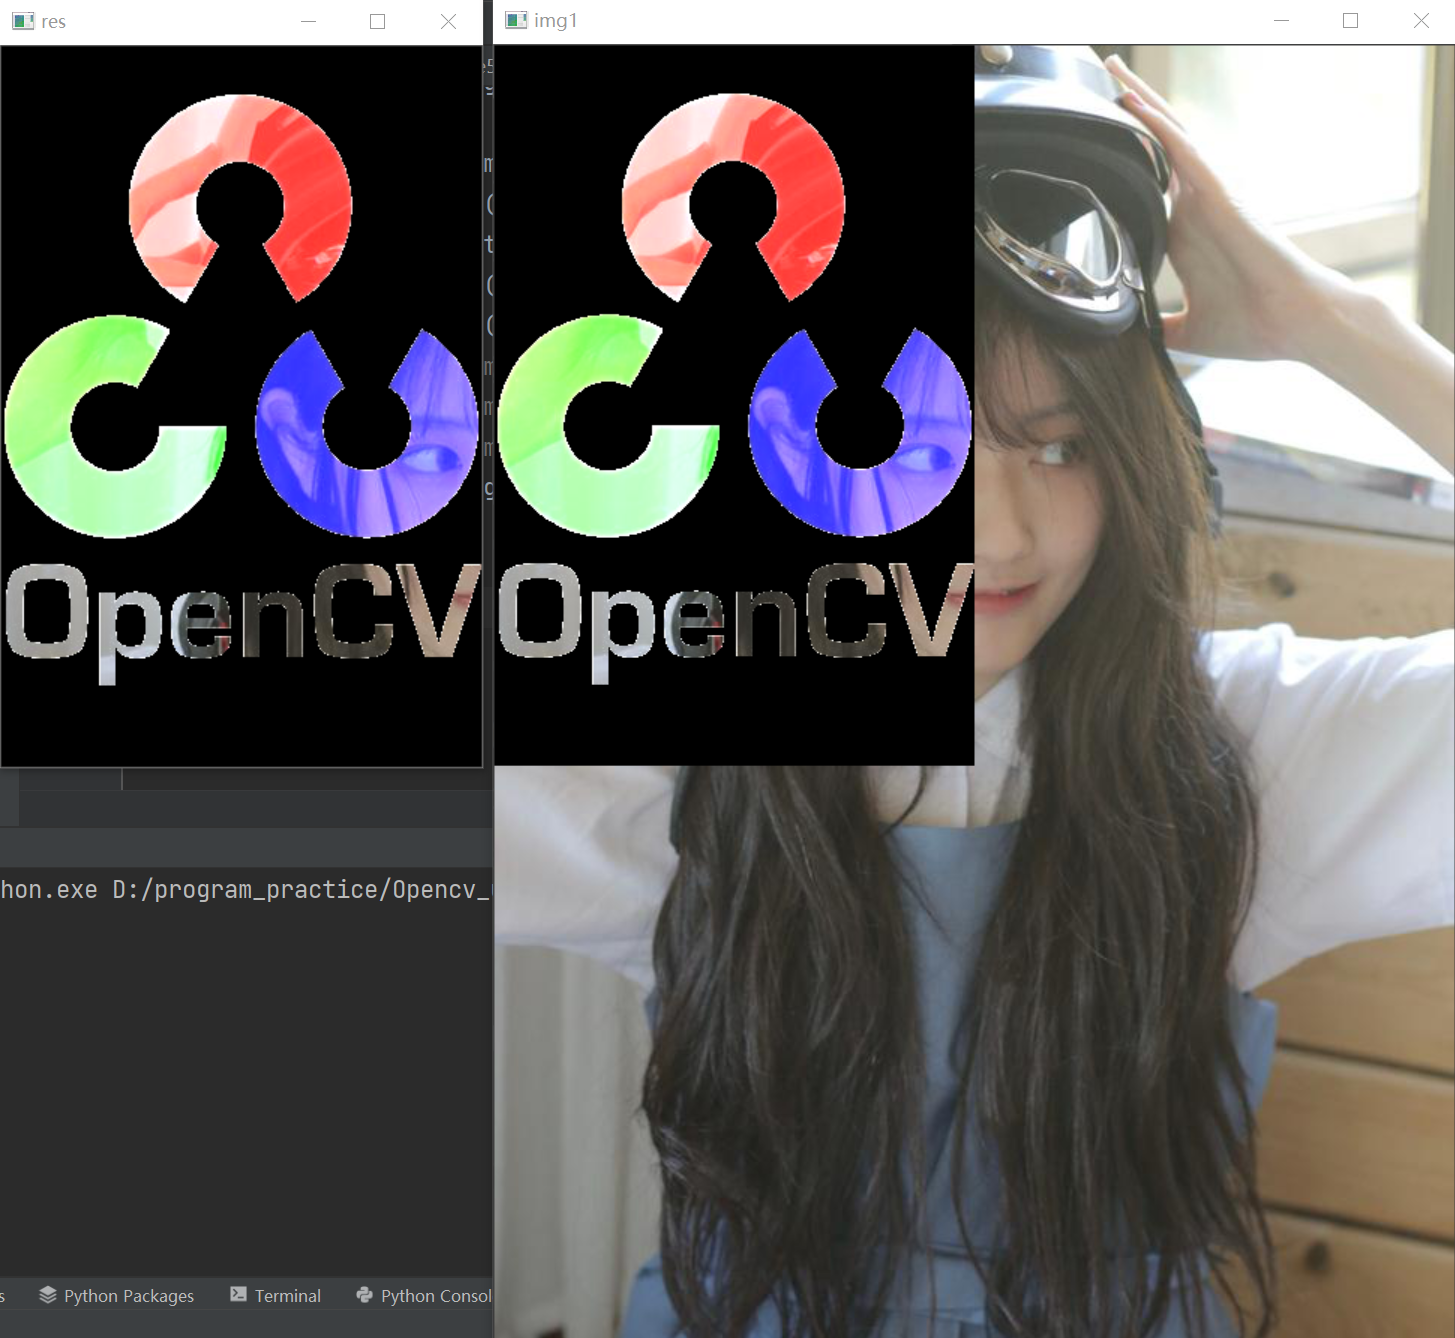
It can be seen that I made an opaque opencv logo on sister snake's picture.
Image type conversion
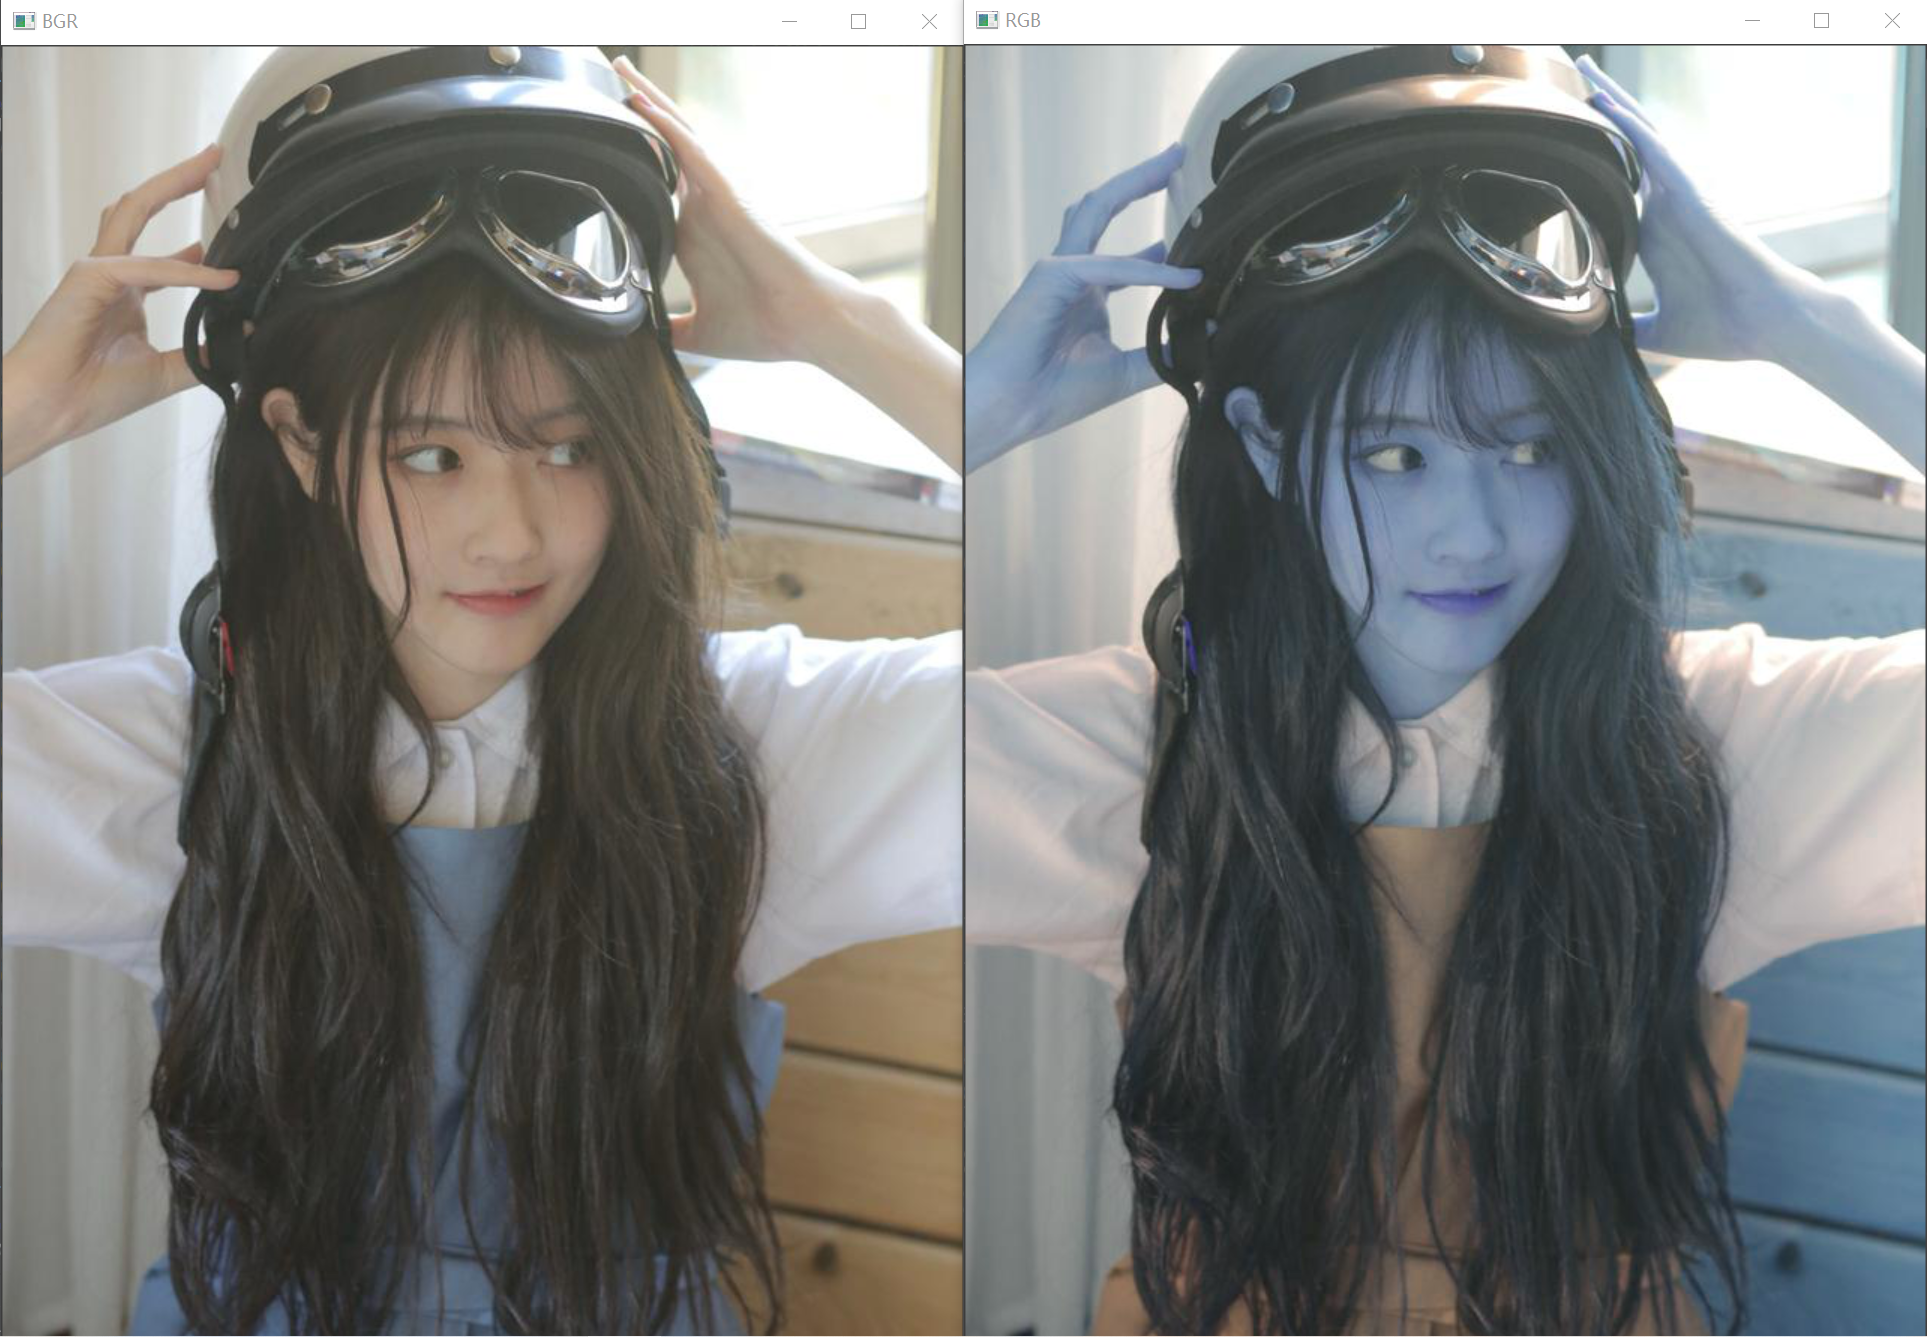
BGR image to RGB image
BGR = cv2.imread("C:/Users/Zhang-Lei/Desktop/snack.png")
RGB = cv2.cvtColor(BGR, cv2.COLOR_BGR2RGB)  # BGR image to RGB image
cv2.imshow("BGR", BGR)
cv2.imshow("RGB", RGB)
cv2.waitKey()
cv2.destroyAllWindows()
result:
BGR image to grayscale image
BGR = cv2.imread("C:/Users/Zhang-Lei/Desktop/snack.png")
GRAY = cv2.cvtColor(BGR, cv2.COLOR_BGR2GRAY)  # BGR image to grayscale image
cv2.imshow("BGR", BGR)
cv2.imshow("GRAY", GRAY)
cv2.waitKey()
cv2.destroyAllWindows()
result:

Gray image to BGR image
BGR = cv2.imread("C:/Users/Zhang-Lei/Desktop/snack.png")
GRAY = cv2.cvtColor(BGR, cv2.COLOR_BGR2GRAY)  # BGR image to grayscale image
BGR2 = cv2.cvtColor(GRAY, cv2.COLOR_GRAY2BGR)  # Gray image to BGR image
cv2.imshow("GRAY", GRAY)
cv2.imshow("BGR2", BGR2)
cv2.waitKey()
cv2.destroyAllWindows()
result:
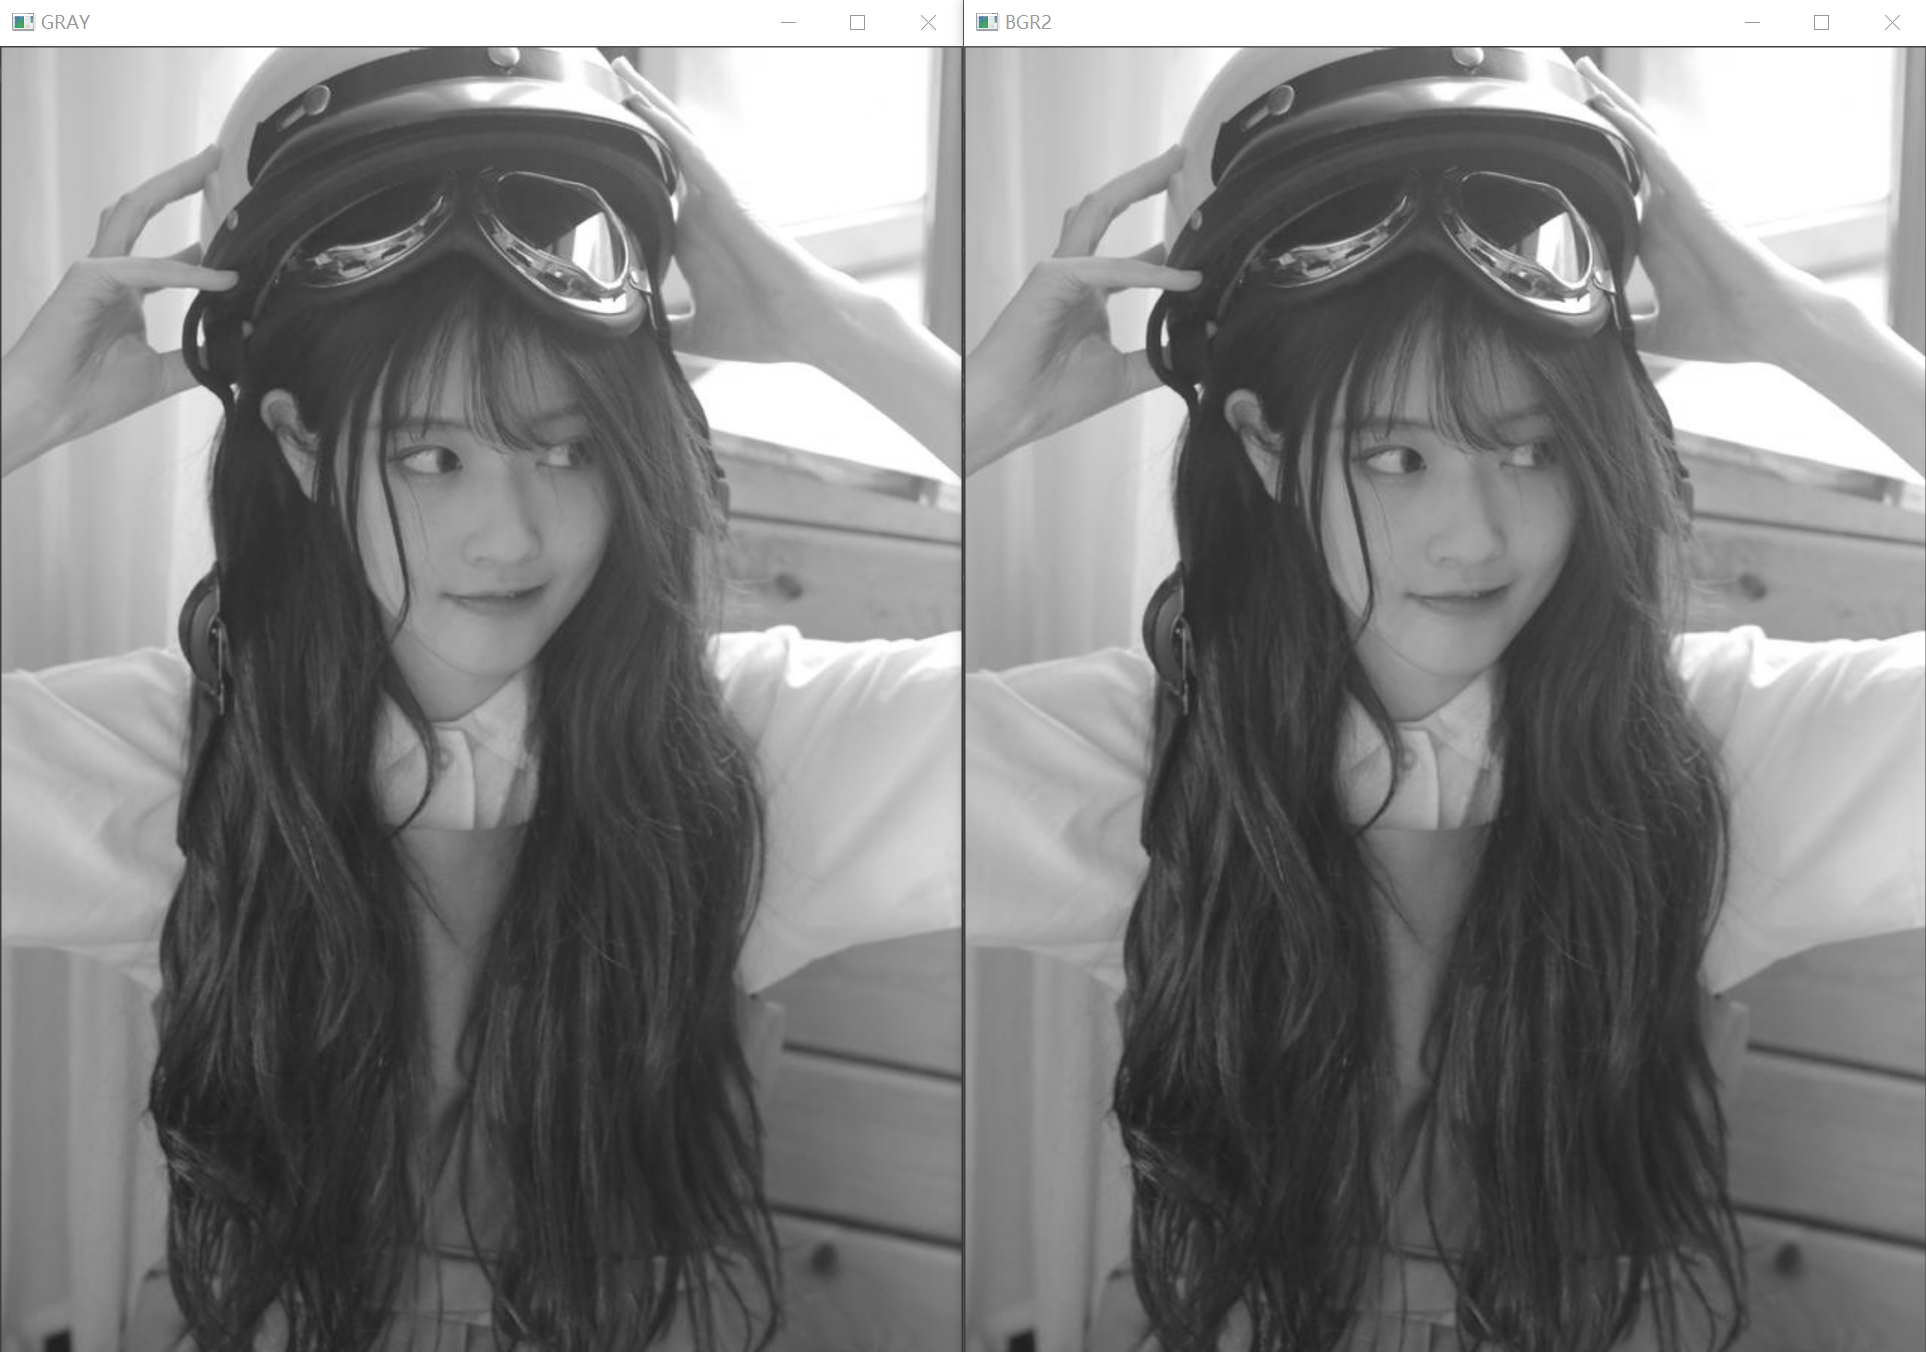
There may be no change in the image, but we can promise the size of the image and see the difference between them.
print(GRAY.shape)
print(BGR2.shape)
result:

It can be seen that the number of channels of BGR image is 3.
Gray image to RGB image
BGR = cv2.imread("C:/Users/Zhang-Lei/Desktop/snack.png")
GRAY = cv2.cvtColor(BGR, cv2.COLOR_BGR2GRAY)  # BGR image to grayscale image
RGB2 = cv2.cvtColor(GRAY, cv2.COLOR_GRAY2RGB)  # Gray image to RGB image
cv2.imshow("GRAY", GRAY)
cv2.imshow("RGB2", RGB2)
cv2.waitKey()
cv2.destroyAllWindows()
result:

In the same way as the above gray image to BGR image, there is no change from the image, but the number of channels is 3.