Workflow completes execution steps from process definition to creating a process instance
- Create a process definition (. bpmn end file) using activi-designer
- Upload the defined process definition and generated png images to the database through the api of Repository Service (which was mainly used to process process process defined service in the previous section)
- Start a process instance through Runtime service, which deals mainly with the currently running process instance
- At this time, the current human task corresponding to the above instance is obtained through TaskService (mainly dealing with the current running task, which has more than one task under a process instance).
- After completing the task above, the process instance moves to the next task
- Repeat 4,5 to complete the start-up to end of a process instance
The above is one of the simplest steps to execute a process from top to bottom. This chapter uses code as an example. There is not much code, but if you execute it all once, you will have a general understanding of the whole process of activiti.
1. The first step is to draw a simple flow chart through the activiti-designer plug-in of eclipse (we only use startEvent, endEvent and UserTask, so they are relatively simple).
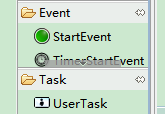
The flow chart is as follows.
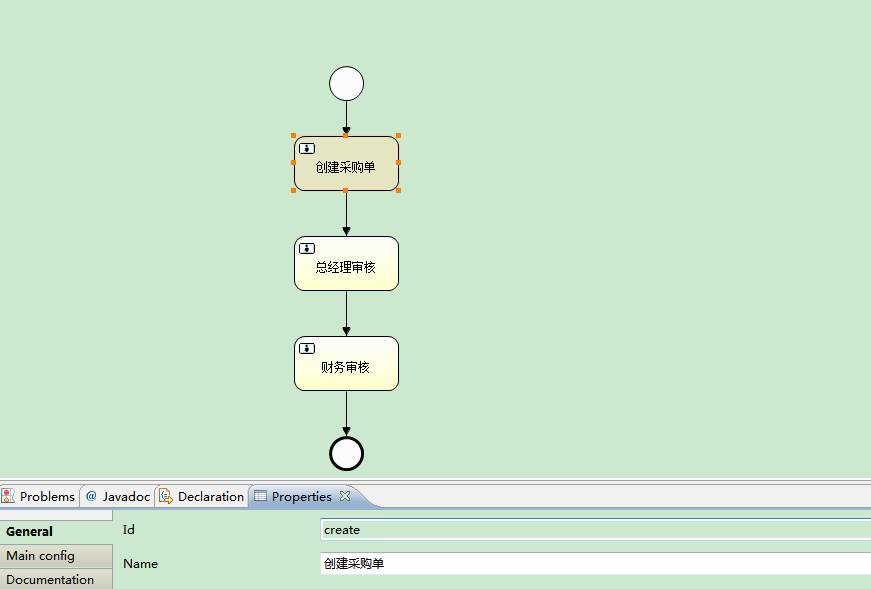
When we click to create a purchase order, we define an id and a name for this node (the same is true for the following nodes)
-------------------------------------------------------------------------------------------------------------------

Click on the main Config on the left to enter a name in Assingee and set up the handler for this step of the process (of course, another dynamic acquisition method will be used in the actual program, which is just to facilitate understanding of the overall process)
The same goes for each node in turn.
-------------------------------------------------------------------------------------------------------------------
Finally, click on the blank to set the id and name of the entire process
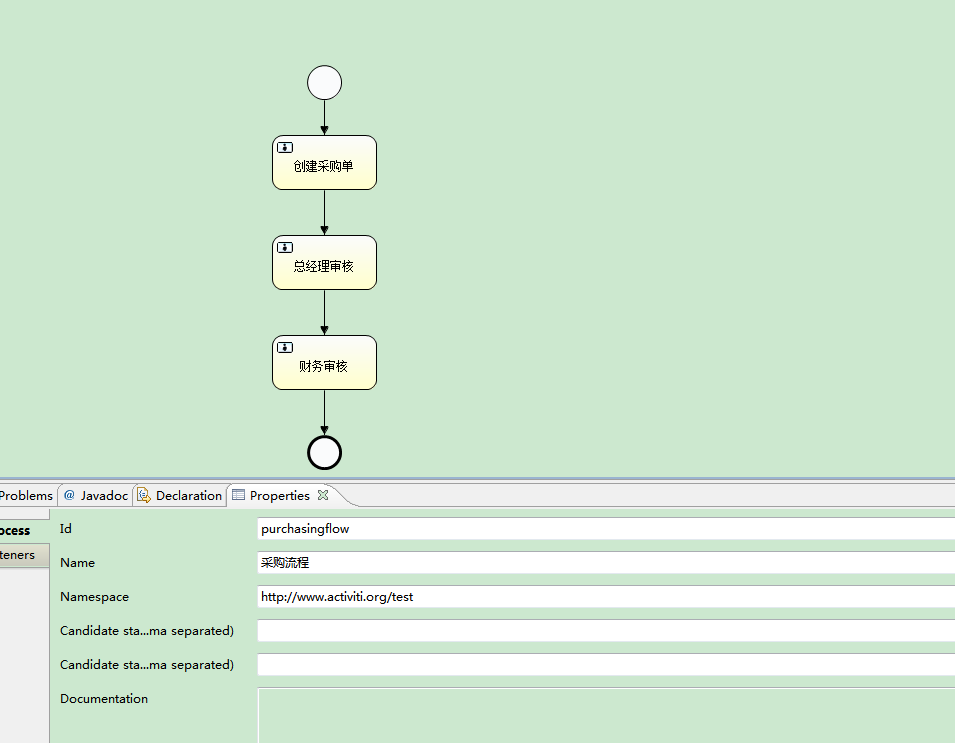
When you click here to save, purchasingflow.png will be generated in the same directory, and the simple process will be drawn here.
2. Upload the workflow bpmn files and png files defined above to the activiti database using activiti api
 1 /*
 2      * Getting the process engine object, the following method defaults to find the name of activi.cfg.xml in the classpath directory
 3      * The id of the bean inside is the Process Engine Configuration Engine Configuration Engine Configuration Engine Configuration Engine Configuration Engine Configuration Engine Configuration Engine Configuration Engine Configuration Object to obtain the Process Engine Object
 4     */
 5     private ProcessEngine engine = ProcessEngines.getDefaultProcessEngine();
 6
 7     //Deploy a process
 8     @Test
 9     public void deployProcessDefinition(){
10         //Getting resources from the engine service
11         RepositoryService repositoryService =   engine.getRepositoryService();
12         //deploy bpmn file
13         String bpmnName="purchasingflow.bpmn";
14         InputStream bpmnIn = this.getClass().getClassLoader().getResourceAsStream("diagram/purchasingflow.bpmn");
15         //deploy bpmn Generated pictures
16         String pngName="purchasingflow.png";
17         InputStream pngIn = this.getClass().getClassLoader().getResourceAsStream("diagram/purchasingflow.png");
18         //Add these two files for deployment
19         Deployment deployment = repositoryService.createDeployment()
20             .addInputStream(bpmnName, bpmnIn)
21             .addInputStream(pngName, pngIn)
22             .deploy();
23
24         System.out.println("deploy id:"+deployment.getId());
25         System.out.println("Deployed name:"+deployment.getDeploymentTime());
26
27     }
The simple api above deploys the process definition of the procurement process to our activiti database, and opens the database act_re_procdef to query the process definition we just uploaded.
3. Before starting a process instance, we upload the above process definition again. Then we query the process definition according to the id of the process definition (purchasing flow) to see what happens.
 1 //Query process definition
 2     @Test
 3     public void queryProcessDefinition(){
 4
 5         RepositoryService repositoryService =   engine.getRepositoryService();
 6         //Create process definition query objects
 7         ProcessDefinitionQuery definitionQuery = repositoryService.createProcessDefinitionQuery();
 8
 9         String processDefinitionKey = "purchasingflow";
10         //Setting the process definition key Query conditions of
11         definitionQuery.processDefinitionKey(processDefinitionKey);
12         //Query all process definitions
13         List<ProcessDefinition> processDefinitionList = definitionQuery.list();
14         for(ProcessDefinition definition:processDefinitionList){
15             System.out.println("-------------------------");
16             System.out.println("Process definition id:"+definition.getId());
17             System.out.println("Process resource name:"+definition.getResourceName());
18             System.out.println("Process deployment id:"+definition.getDeploymentId());
19         }
20
21
22     }
The results above output three process definitions, and the id of deployment and process definitions are different. With this doubt, let's start a process instance below and explain it in detail.
4. Start a process instance
 1 //Start a process instance
 2     @Test
 3     public void startProcessInstance(){
 4
 5         RuntimeService runtimeService = engine.getRuntimeService();
 6
 7         String processDefinitionKey = "purchasingflow";
 8         //Process-defined key Start a process instance
 9         ProcessInstance processInstance = runtimeService.startProcessInstanceByKey(processDefinitionKey);
10         System.out.println("Process instance id:"+processInstance.getId());
11         System.out.println("Process definition id:"+processInstance.getProcessDefinitionId());
12
13
14     }
We found that the id of the process definition printed above was the last process definition we uploaded, so we concluded that if we uploaded the same id process definition many times, we would start the process instance according to the process definition and get the latest version of the process definition.
5. Query the task of the current handler. We previously wrote the first node at the time of process definition (that is, the handler at the step of creating the purchase order is zhangsan).
 1 //Query the agent task of the current user
 2     @Test
 3     public void queryProcessInstance(){
 4
 5         //Query Task Usage service
 6         TaskService taskService = engine.getTaskService();
 7         //Getting Task Query Objects
 8         TaskQuery taskQuery = taskService.createTaskQuery();
 9         taskQuery.taskAssignee("zhangsan");
10         //Query all tasks under this condition
11         List<Task> tasks =taskQuery.list();
12         for(Task task:tasks){
13             System.out.println("Current task id:"+task.getId());
14             System.out.println("Process Definition of Current Task Ownership id:"+task.getProcessDefinitionId());
15             System.out.println("Current Task key:"+task.getTaskDefinitionKey());
16         }
17
18     }
We query the current task id and the process definition id through zhangsan, and you will find that if we fill in not Zhangsan but something else, we will not be able to query, because the task handler we designate is zhangsan.
6. Processing a task. When our zhangsan gets the task here, he needs to finish it.
 1 //Complete a process
 2     @Test
 3     public void completeProcessInstance(){
 4
 5         //Mission id,Later integration will query the user's task through the current logon identity, and then get the user's task. id
 6         String taskId="402";
 7         TaskService taskService = engine.getTaskService();
 8         //According to task id Complete the task
 9         taskService.complete(taskId);
10
11     }
7. When we query the current task through lisi, the next node's handler, we find that a task is queried, and then repeat 5,6 until the task ends.